prop

Light-up emu egg prop

20131013-204853.jpg

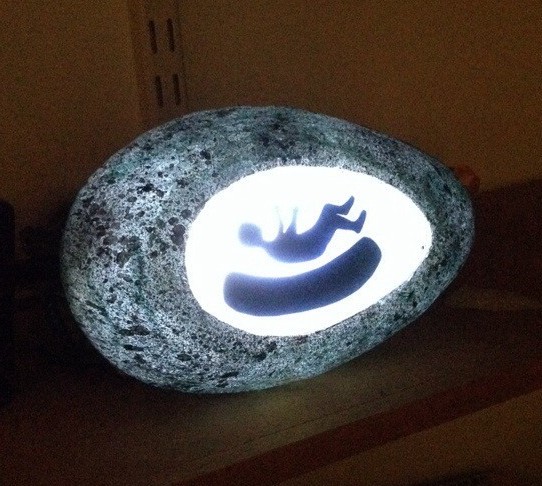
This is the finished emu egg prop made for BiamiThe story recounts how Biami ‘created the emu Dinnawhan, the female emu, whose spirit he used to create the Wiradjuri people; who now believe they are of the egg of Biami and the female spirit’. This is symbolised by the shadow of a baby in the coolamon within.

The egg is made from Plastimake, small pellets of plastic which soften when heated and can then by modeled. I this kind of plastic at Philip Millar’s puppet doctor session at the puppetry conference in Melbourne last year, and have been itching to have a good reason to use it! Peter, who I contacted at Plastimake, was very helpful, and it turned out to be a great material for this project.

I found it quite tricky to think through the various steps in how to make this, as it had to light up from inside but be self-contained, and you have to be able to access the batteries so they can be changed.

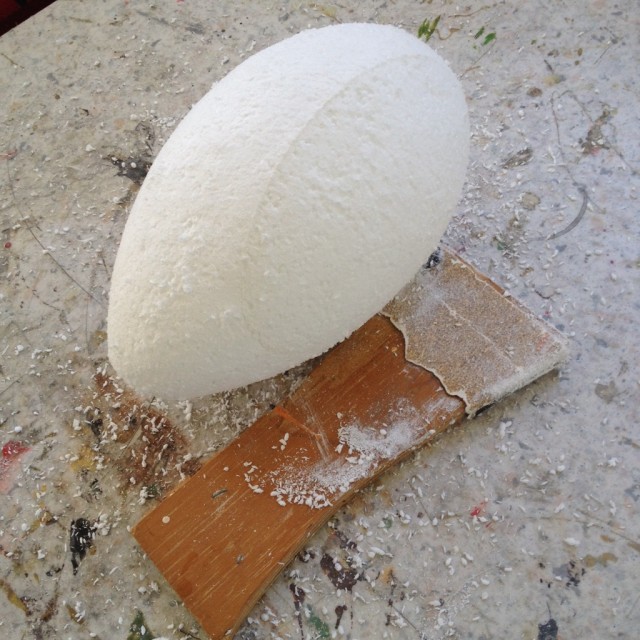
I started by making a polystyrene egg about 20 cm long as a former. Here it is with Special Tool A, a bit of plywood with some blunt sandpaper gaffered onto it, which happens to be ideal for smoothing  polystyrene once you have carved to roughly the right shape. Then I cut the egg in half lengthwise and put a bit of polypropylene in between so that I could later split the egg in half easily, and also cut away a small section at each end so that the ends would end up thick enough to hold screws to keep the two halves together.

20131013-204642.jpg

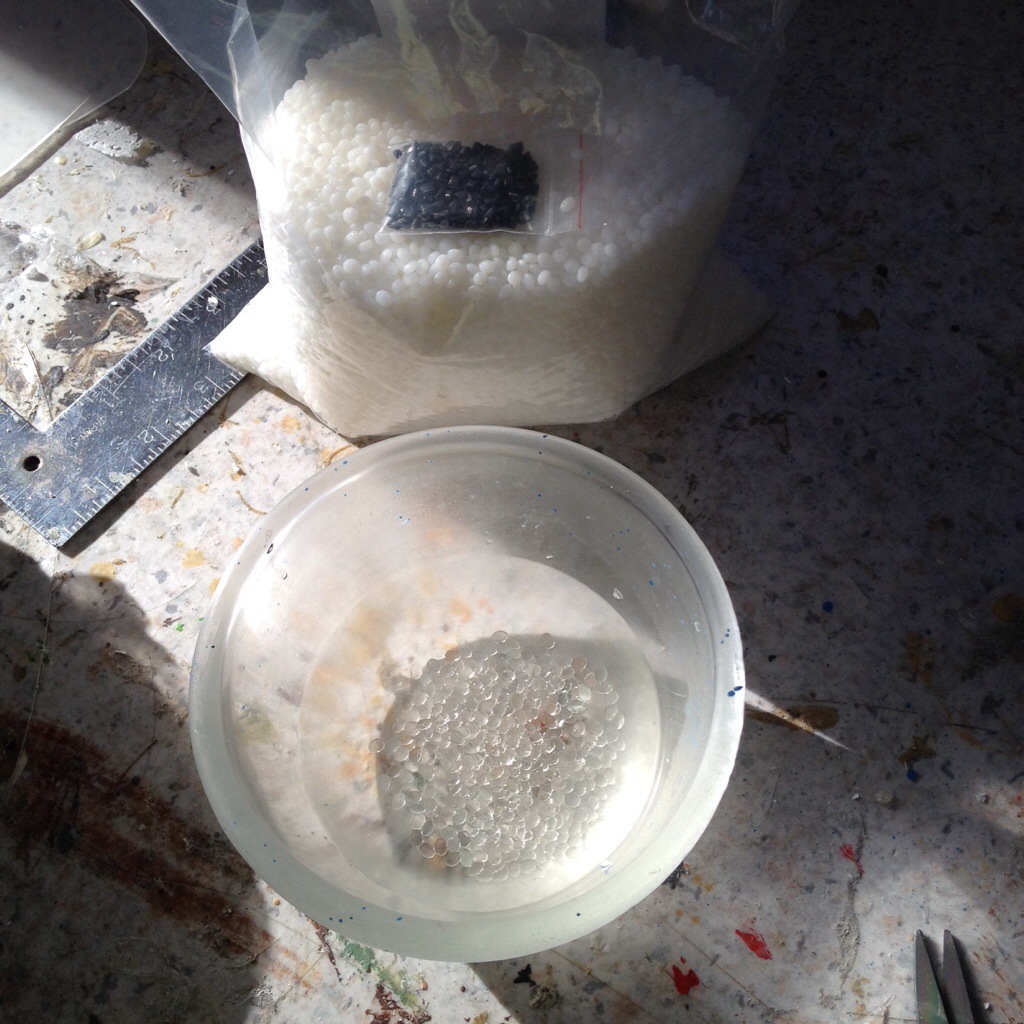
I used small quantities of Plastimake, heated in boiling water. The pellets turn transparent when they are hot enough to fuse, and then you can fish them out with a spoon and mold them to shape. I found that squishing them together a bit with the spoon while they were still in the water was a good idea too. (The little bag of black pellets are colouring pellets of Plastimake which I didn’t end up needing).

20131013-204711.jpg

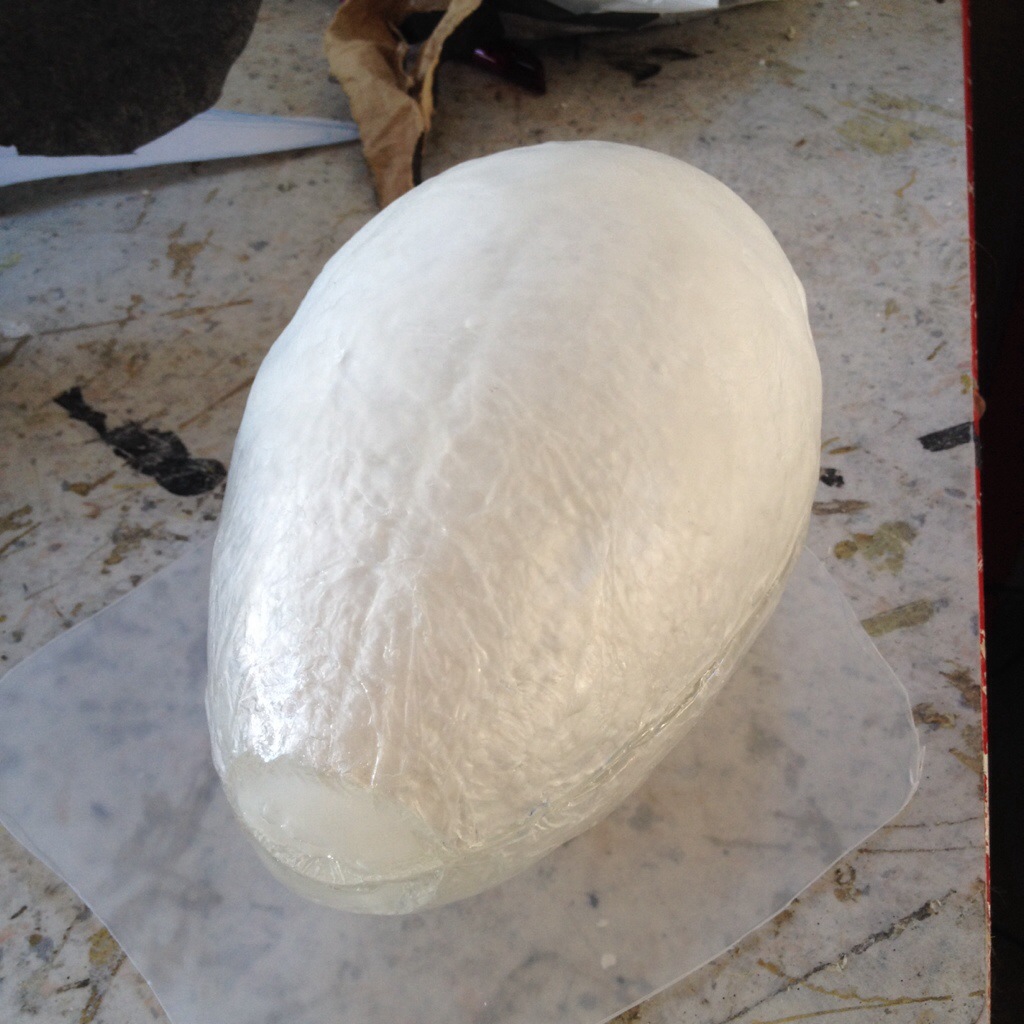
This photo shows the egg completely covered with plastic, in various stages of setting. The opaque areas of white at the large end are set, but in other places where it is still warm you can see right through to the gladwrapped polystyrene inside. Once the egg was covered roughly, I spent quite a bit of time heating it with a hairdryer and then smoothing it out. One of the great things about Plastimake is that it can be reheated and reused, as well as added to, drilled and cut.

20131013-204738.jpg

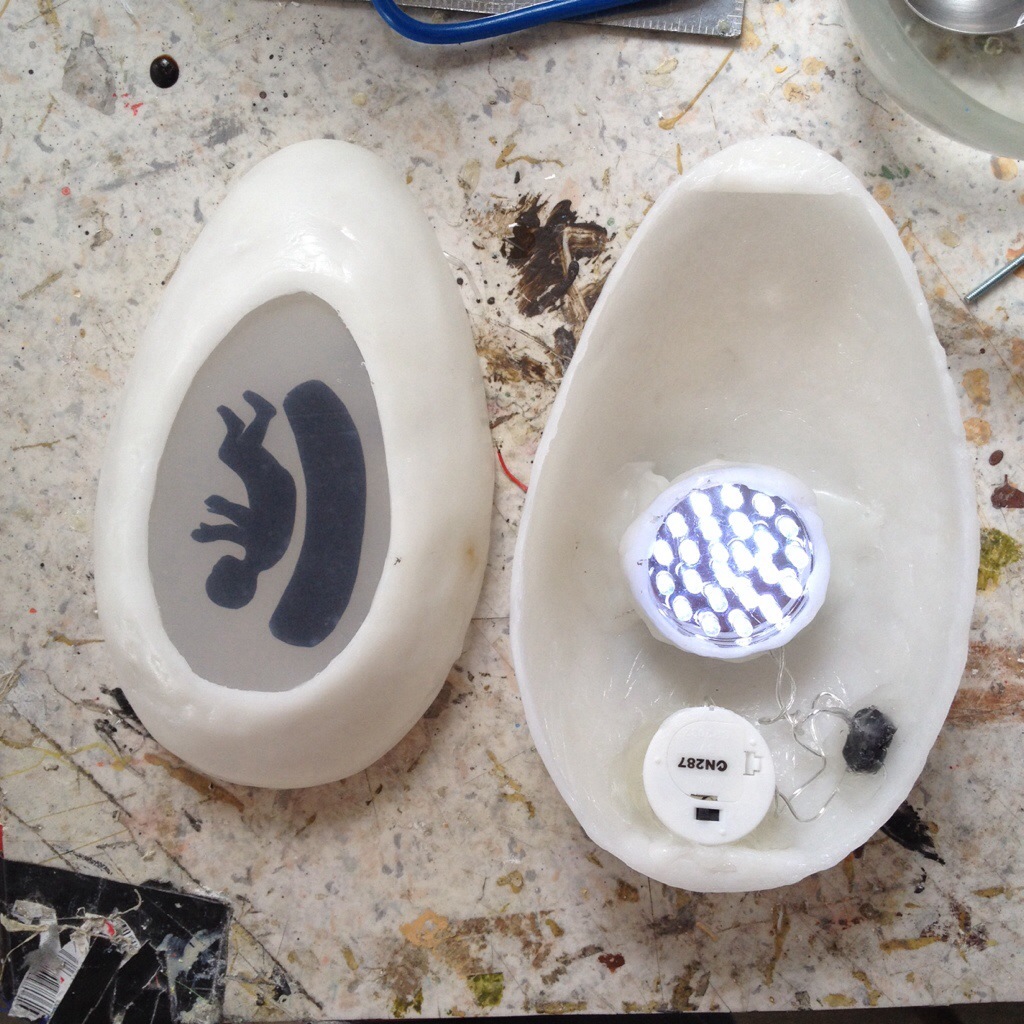
The egg has a flattened part for it to rest on so it doesn’t roll around, and into that I set some polypropylene sheeting with the black contact cut-out of the the baby in a coolamon. In the other half is an led light unit from the dollar shop, with it’s switch button rewired to fit into the right position poking through to the outside of the egg. I also replaced the batteries that came with the light with button batteries instead as it seemed neater, hacking a tealight battery holder so that it held two batteries rather than one. (Thanks Zaiga!)

20131013-204803.jpg

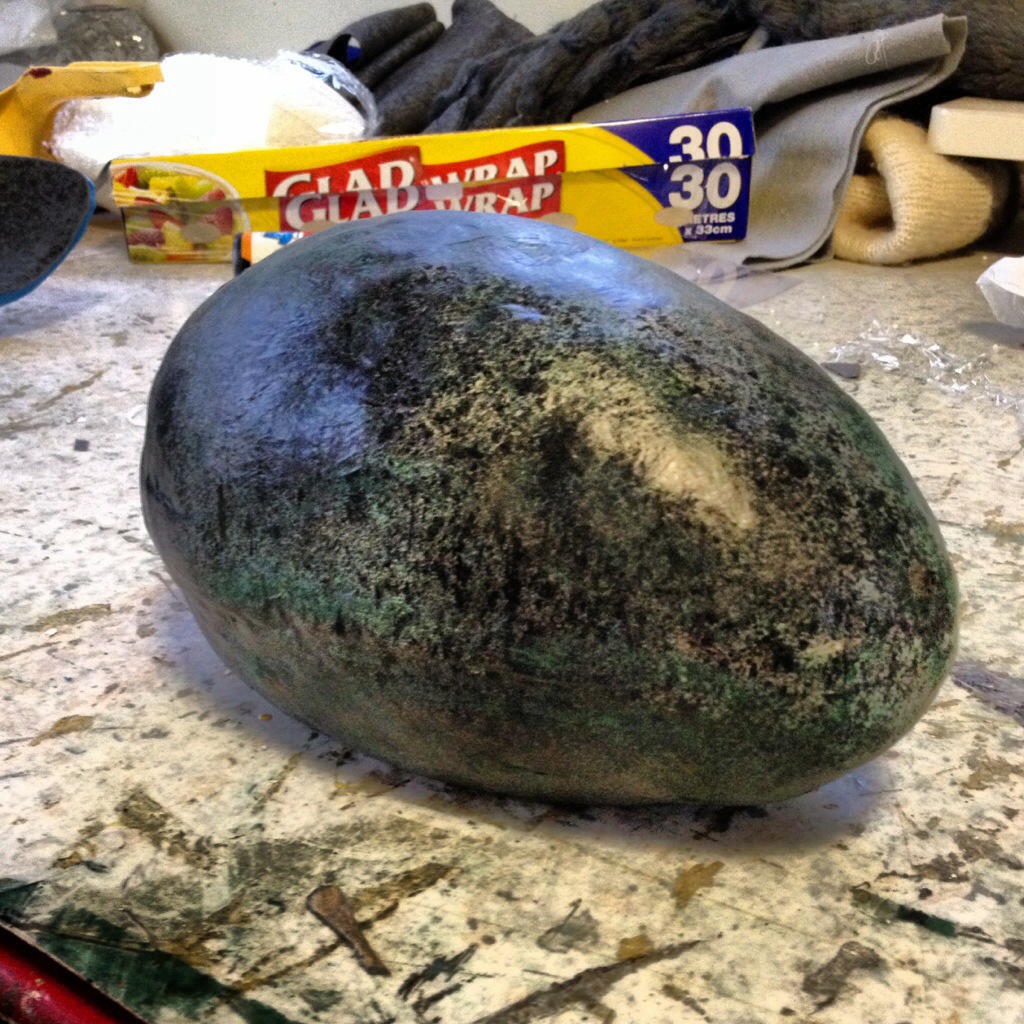
Once the egg itself was made and joined up I paper mached the outside with white tissue paper because although paint takes well to Plastimake it can rub off fairly easily with wear. The speckled finish is spray paint and a little green acrylic paint.
20131013-204831.jpg

Giant remote control snail

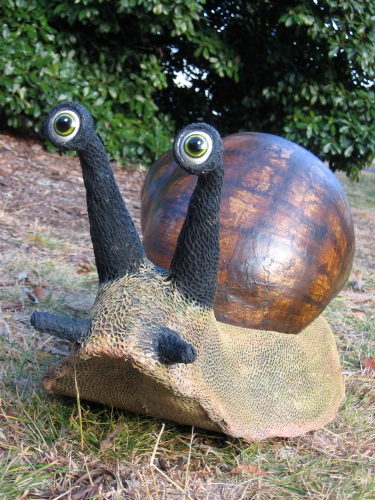
This is a giant remote control snail that I recently made for The Fool Factory for their promotion of National Science Week 2011. It’s about a metre long, fitted onto the chassis of a remote control car, and has eyes that move from side to side. It’s made to look somewhat like Australia’s largest land snail, the Giant Panda Snail, which inhabits sub-tropical forests in Queensland.

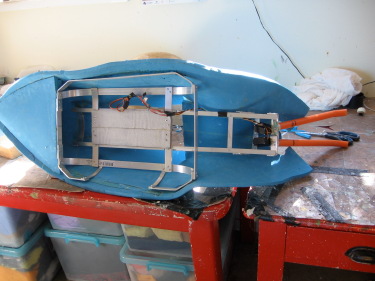
I’ve posted photos of the making process. The shell is shaped polystyrene layered with  paper mache, and then painted. The body is made from thin PE foam sheeting covered by a strange irregular and stretchy netted fabric which I used for the skin texture, then painted. Inside the snail there is a cage that separates and protects the body from remote control chassis, and a small aluminium structure that holds the servo motors that rotate the eyes.

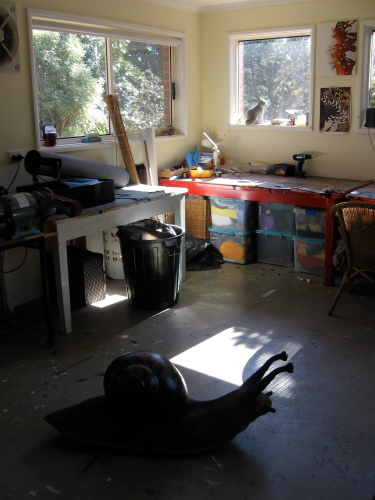
I’m also like the following picture of the snail in my studio, although it reminds me of when we first moved into our house and there was a small crack by the back door where leopard slugs used to come in during the night to eat the cat food in the laundry! Worse was when they used venture further into the house and we could accidentally tread on them barefoot if we were up in the night tending babies – eew!

Windmill prop

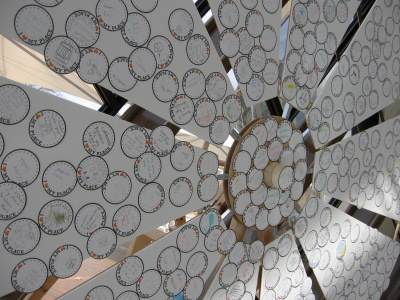
The windmill prop I mentioned previously was made for the National Museum of Australia‘s July school holiday program Little BIG Things. It ran in conjunction with the museum’s new Landmarks exhibition, which explores a broad history of Australia through stories of places and their peoples.. The kids visiting the Discovery Centre drop-in activity area could make small sculptures of a big thing from where they came from, and then write a story about it to place on the blades of the windmill.

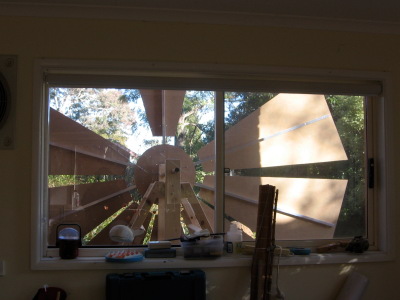
Against the huge windows in the foyer of the museum the windmill looks quite small despite being 3 metres tall. At home when I did a trial assembly of the windmill outside my studio window, it looked enormous! There are some more photos of the windmill in my Flickr photoset.

Windmill prop in progress

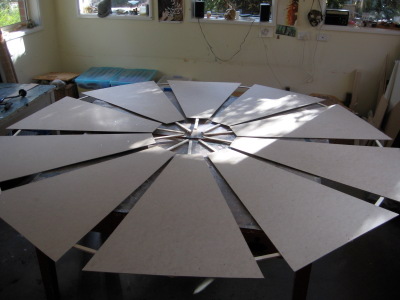
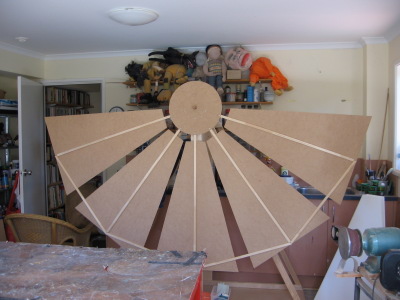
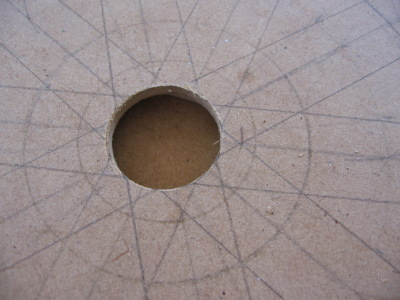
I’m working on a windmill prop at the moment. I made the base structure a month or so ago, but am now back to making the blades. The windmill itself is very simple, but it’s size – it will stand 3 metres high – makes it logistically tricky to work on in my studio. It’s coming together nicely, though, and I’m enjoying it.


Giant garden fork

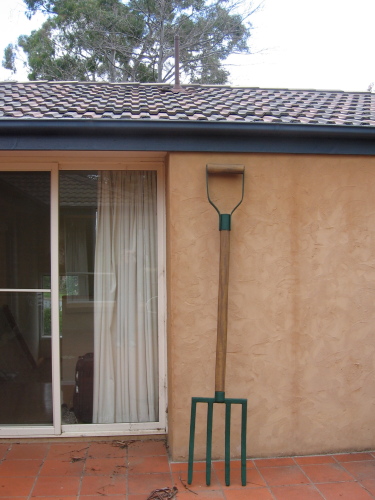
I made this giant garden fork prop for  The Fool Factory recently. There are some making photos in my portfolio at Flickr. Before I handed it over we had fun posing with it like the farmer couple in Grant Wood’s American Gothic painting and various other silly things. It definitely invites comic scenarios.

Bird skeleton

Seagull skeleton

This suggestion of a seagull skeleton is a prop for a new play I’m working on, but I rather like it as an object for itself. It’s given me some ideas for making some stranger ones when I get some time later.

By coincidence, today I happened across Chris Jordan’s photographic collection Midway: Message form the Gyre, a photographic documentation how albatross chicks on Midway Atoll ban in the middle of the Pacific Ocean often die because they end up being fed heaps of plastic junk. It’s shocking – only look if you are feeling strong.

Desirée, my dear dead manta ray

Manta ray

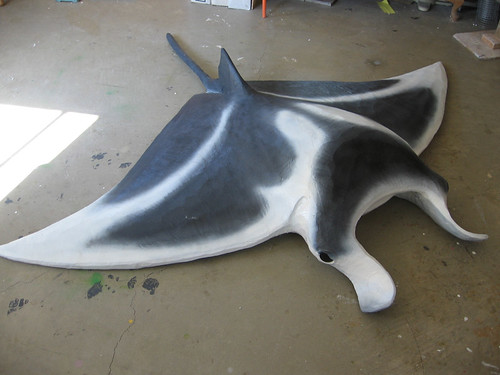
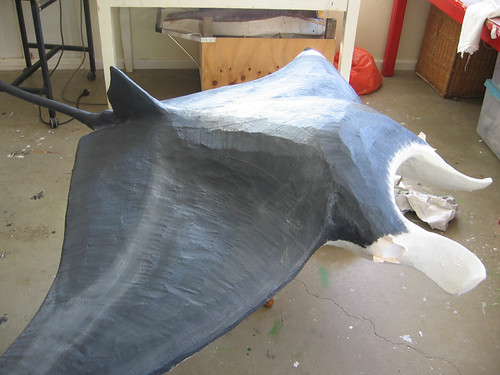
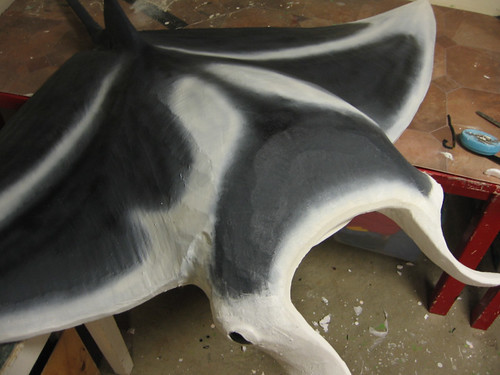
This is the big dead manta ray prop that I made for the Street Theatre’s production of Jacques Brel is alive and well and living in Paris.  Sadly Desirée – my name for her  – was cut from the final production, but I loved making her.  Manta rays are such awesome creatures!

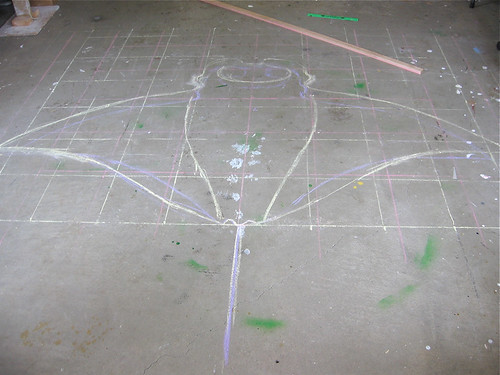
Because she had a wingspan of over 2 metres, I decided chalk on the floor was a good way to start drawing up a pattern. I also bought myself a little plastic model of a manta to refer to, which turned out to be useful.

Manta ray

From this I traced a pattern onto butcher’s paper and from there onto sheets of polystyrene which were then built up and glued into a block.

Manta ray

I also decided to insert a strip of thin plywood into the underside right across the width of the wingspan, so that the wings would be protected from breaking, especially at the tips. I also did that with the fins that I added.

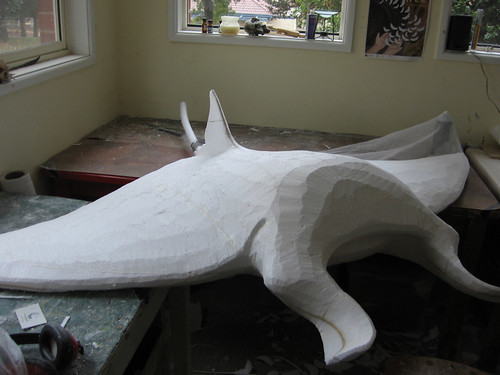
Then much shaping with a really sharp knife, a narrow power belt  sander, and sandpaper. I decided to keep the surface a bit rough, which often makes it easier for an audience to read.

When I use polystyrene that will just have a painted finish I skin it with muslin first. Here you can just see some of the muslin draped over the spray adhesive can on the right.

Manta ray

I usually add a little bit of latex to the first coat of paint to help make everything stick to the styrene.

Manta ray

Then it’s on to colouring; for the final shading I used spray paint so that the colours merged softly. It was tricky to seat in the eyes (painted and glossed wooden door knobs) and get the shape of the upper eyelid right.

Manta ray

There are a few more in-between photos in my photoset at Flickr.