make

So that’s what pith is!

Although I don’t generally like doing repairs (there are exceptions) it’s part of the business, and sometimes interesting to find out how something is made.

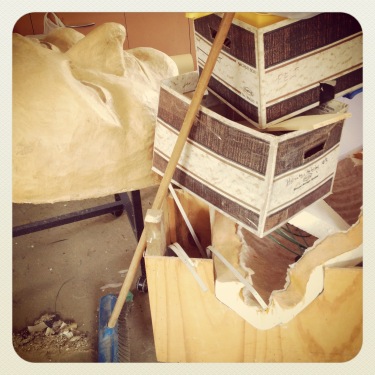
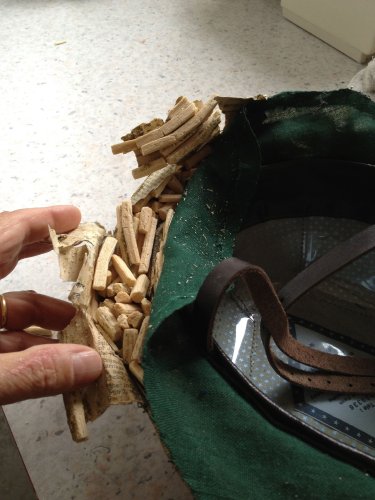
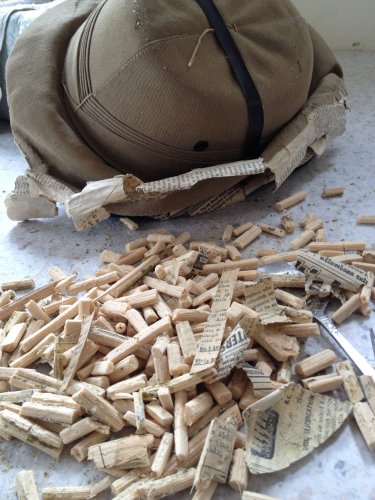
One of my clients asked me to mend a hat that he uses for some of his gigs. The brim is quite thick, and its shape was disintegrating. Much to our surprise there were lots of little chunks of wood inside! On the intact side the bits were glued together into a set shape, but elsewhere they were broken up and higgledy-piggledy. Today I poked around a bit more and ended up taking them all out. I’ll probably replace them with shaped foam.

The hat is from the Calcutta Sola Hat Agency, which was enough of a lead to work out on Google that this is a sholapith helmet, and the bits inside are actually pith! It’s the inside spongy core of a water plant which can be pressed and shaped into works of art. I hadn’t ever looked into why pith helmets had that name. It looks as if the hat makers pressed the pith into a newspaper-lined hat mold, and then sealed it off with a few more layers of paper, before covering it with cloth.
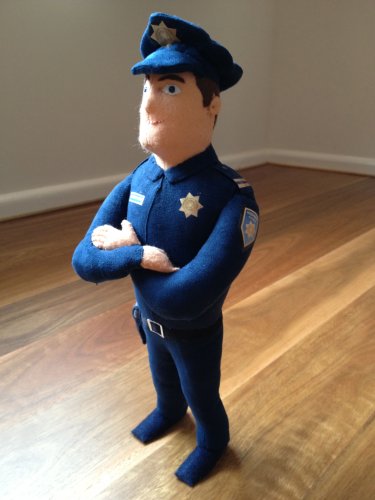
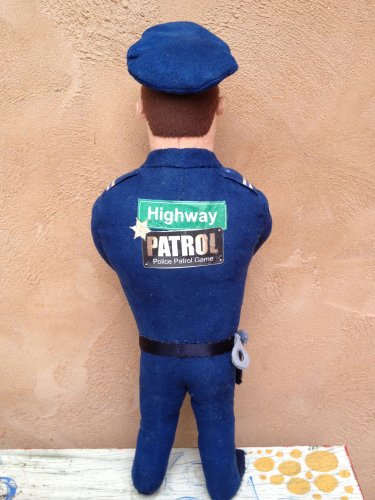
Officer Dan softie

The custom softie I was making last week was “Officer Dan”, the face of a new board game called Highway Patrol. He will be part of the game promotion when its inventors travel to the International Toy Trade Show in New York next week.

I’ll post a few more making photo’s in my photoset at Flickr in the next day or two.

Continuing my pattern making

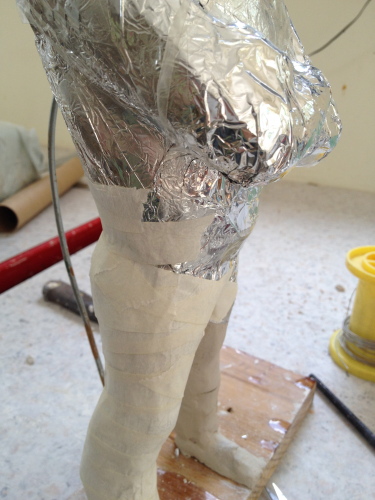
Continuing on with my pattern making, once the clay sculpt is done I cover it first with aluminium foil, and then with masking tape. The foil covers the complex contours easily and stays in place, and the masking tape holds the foil shape together when it comes off the maquette.

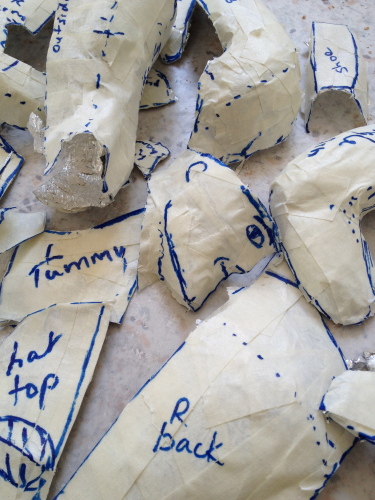
I draw cutting lines keeping in mind both where to cut to get the pattern off the model easily, and where seams are going to be best for assembling the final pattern in fabric. I also sometimes mark midlines or possible dart lines that might be useful later.

It’s also good to label the pieces before they are cut off, because they are not alway easy to identify once they are cut up. These are still not 2D; they’ll need to have some further cuts made in them, but I haven’t chosen fabric yet, and if it’s stretchy I may not need as many cuts.

Making a softie pattern

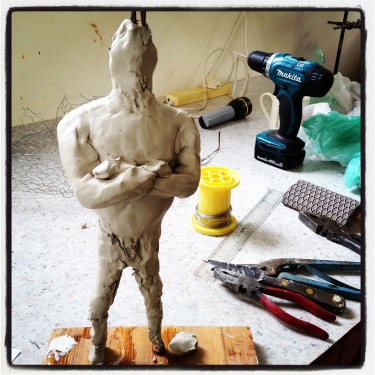
I began a new project yesterday, a commissioned soft plush toy. I can’t disclose exactly what at the moment, but can show some indistinct making shots. A clay maquette is probably a weird way to start a softie, but I find drawing a 2D dressmaking style pattern with darts and tucks difficult. It’s much quicker for me to start with a 3D shape and make a pattern from that.

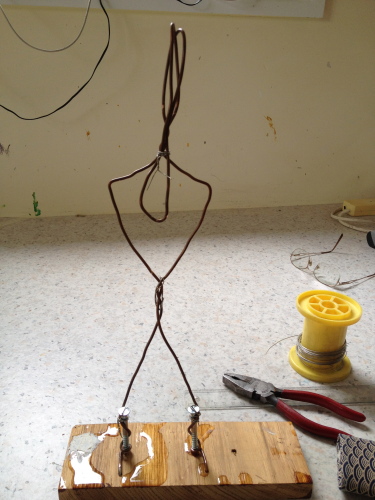
Here’s the rough wire armature intended to hold the clay up,

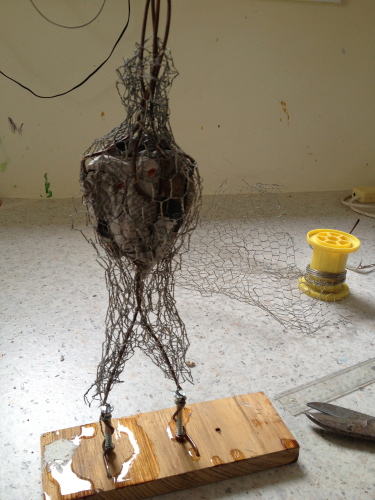
followed by chicken wire and some crumpled newspaper to fill out the space.

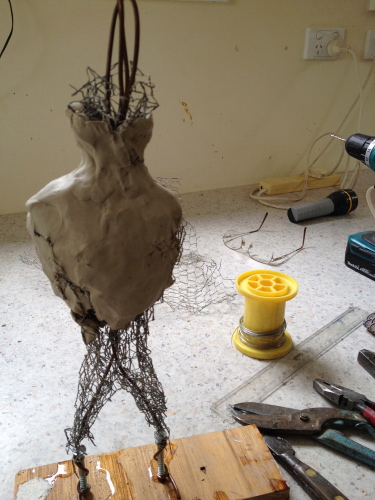
Then the clay is sculpted on top, embedding in the wire.


A carved wooden marionette

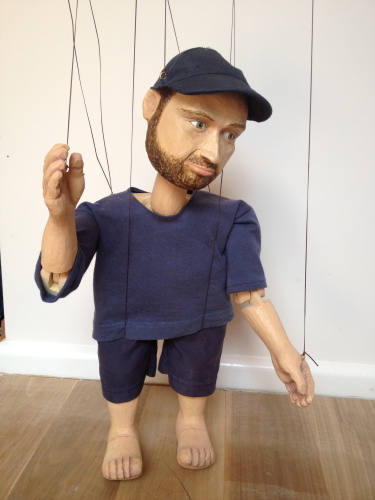
Towards the end of last year I was commissioned to make a marionette which was to look like, and be a Christmas present for, my clients’ son. They provided a few photos, and seemed pretty happy with the likeness when they picked it up.

For various reasons I was swayed to try carving a wooden puppet. It seemed a good learning challenge, and  I’d recently been inspired by Kay Yasugi’s marionette carving workshop in Prague.  How cool would it be to do a workshop like that! And there were practical reasons, too;  in particular, short hair and a short beard is hard to represent well, and I thought the stippling of the wood would be a good and minimalist way of doing it, which proved right.

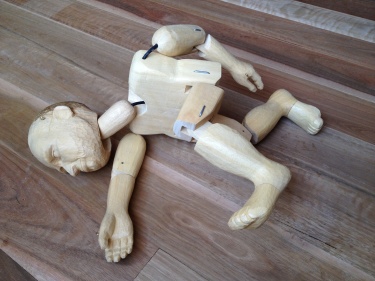
I was delighted to find that Puppets in Prague not only runs workshops, but has really detailed puppet making tutorials online – a wonderful resource!  I used  jelutong timber, a good substitute for the recommended  but hard-to-get Linden or English Lime. I found the exacting woodwork for the body difficult, especially without a band saw, and I didn’t get things lined up perfectly. But I really enjoyed the carving! Puppets in Prague offer ready-made components in their online shop and another time I think it could be worth my time to buy those and concentrate on the carving.

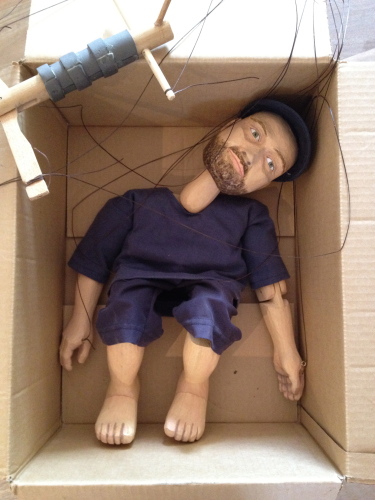
The online tutorials didn’t detail exactly how the puppets were stringed to the controller. Kay at Pupperoos very kindly set me straight and sent me photos of how her puppet was stringed. Many thanks, Kay!

There are some making photos in my Flickr photoset.

Repairs

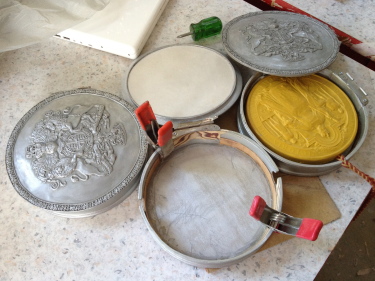
I ended up making four of these replica skippets some years ago. They are used as hands-on items in school tours, so they have a hard life, and they are back for repair. There is also an intrinsic weakness, since the cast resin lid is heavy in comparison to the slight anchoring available for the hinge. I keep thinking that the ideal solution in future will be 3D scanning and printing in metal.

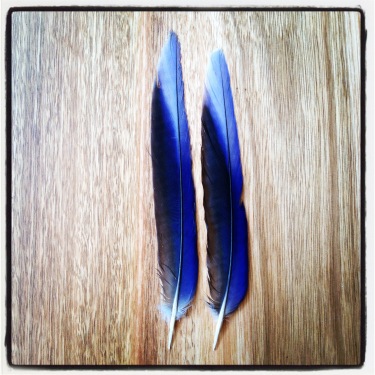
And this is a photo that I like from yesterday. The blue feathers probably belong to crimson rosellas. Our new floor makes a great background!

And by the way,  I support the STOP SOPA protests against internet censorship.

A clean studio to start the year!

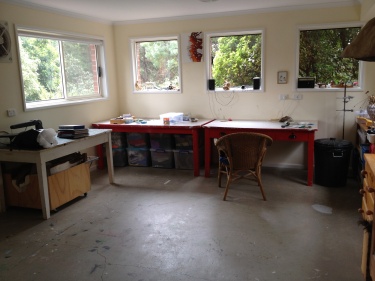
I’ve spent some days giving my studio a huge clean-up, including moving and cleaning shelving, washing down the walls, and some reorganising. It took a lot of effort but it feels worthwhile. Apart from anything else, my work often generates a lot of dust and particles that settle everywhere, and although I use safety gear I worry a little about the health risk.

There seems to be so much surface space, though I know it won’t last for long!


A little hand

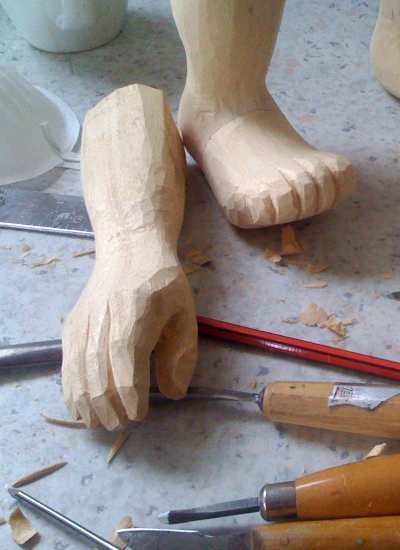
I’ve just started making a marionette. I like how this little hand is shaping up.

Giant remote control snail

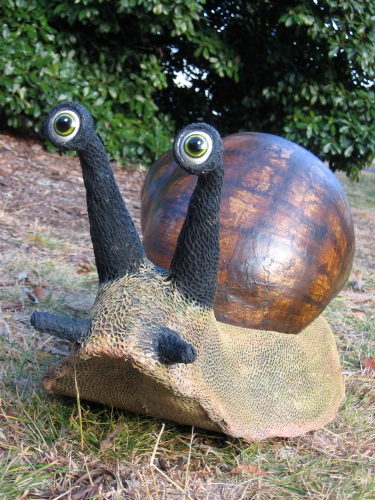
This is a giant remote control snail that I recently made for The Fool Factory for their promotion of National Science Week 2011. It’s about a metre long, fitted onto the chassis of a remote control car, and has eyes that move from side to side. It’s made to look somewhat like Australia’s largest land snail, the Giant Panda Snail, which inhabits sub-tropical forests in Queensland.

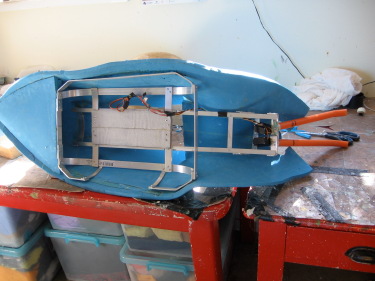
I’ve posted photos of the making process. The shell is shaped polystyrene layered with  paper mache, and then painted. The body is made from thin PE foam sheeting covered by a strange irregular and stretchy netted fabric which I used for the skin texture, then painted. Inside the snail there is a cage that separates and protects the body from remote control chassis, and a small aluminium structure that holds the servo motors that rotate the eyes.

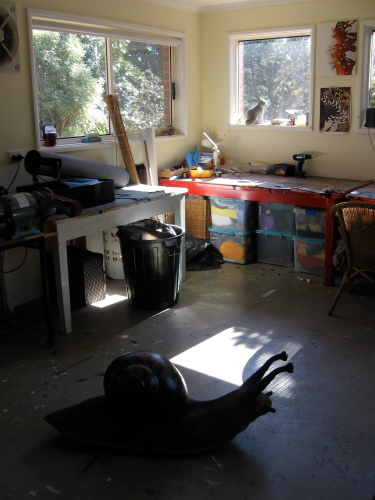
I’m also like the following picture of the snail in my studio, although it reminds me of when we first moved into our house and there was a small crack by the back door where leopard slugs used to come in during the night to eat the cat food in the laundry! Worse was when they used venture further into the house and we could accidentally tread on them barefoot if we were up in the night tending babies – eew!