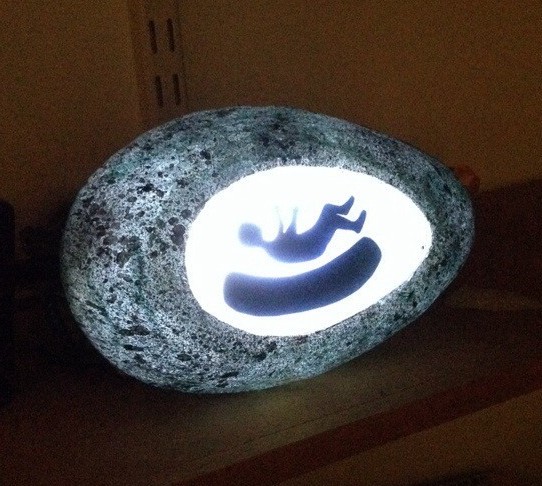
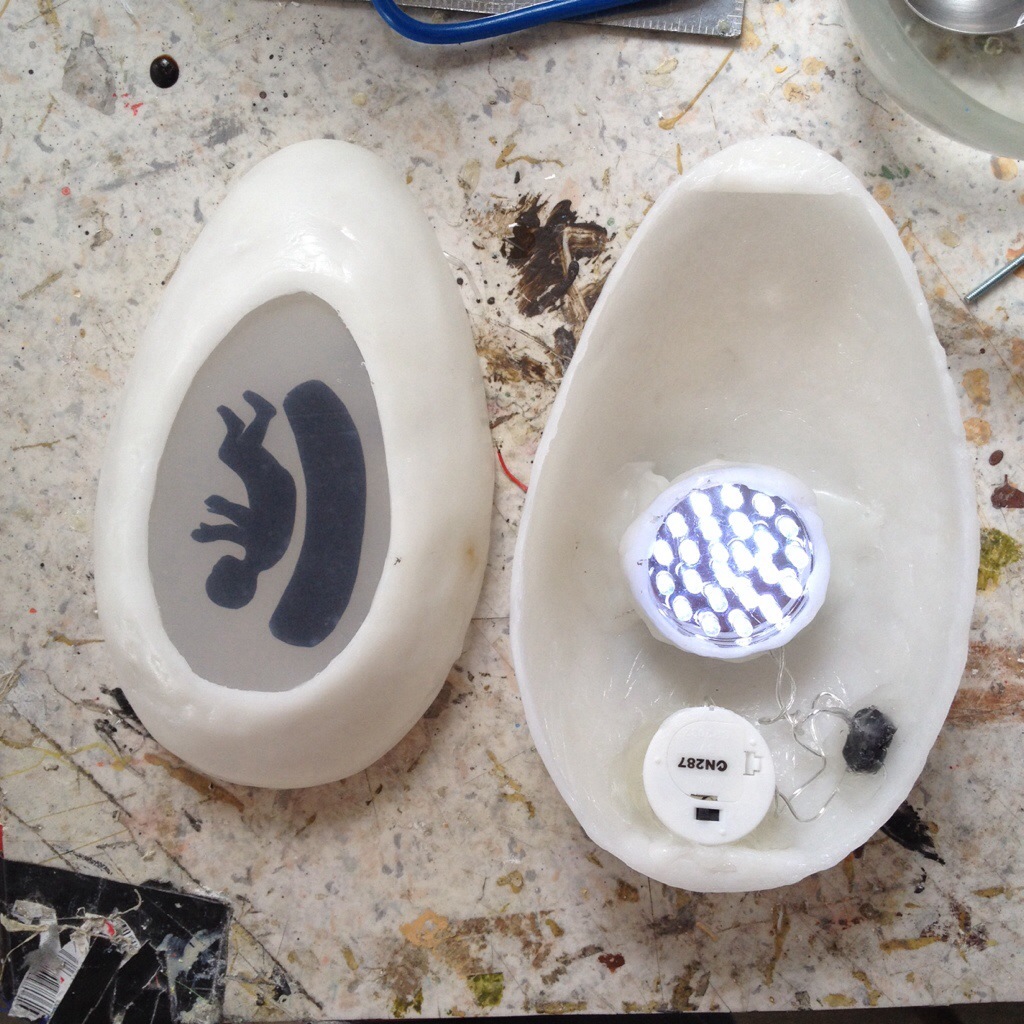
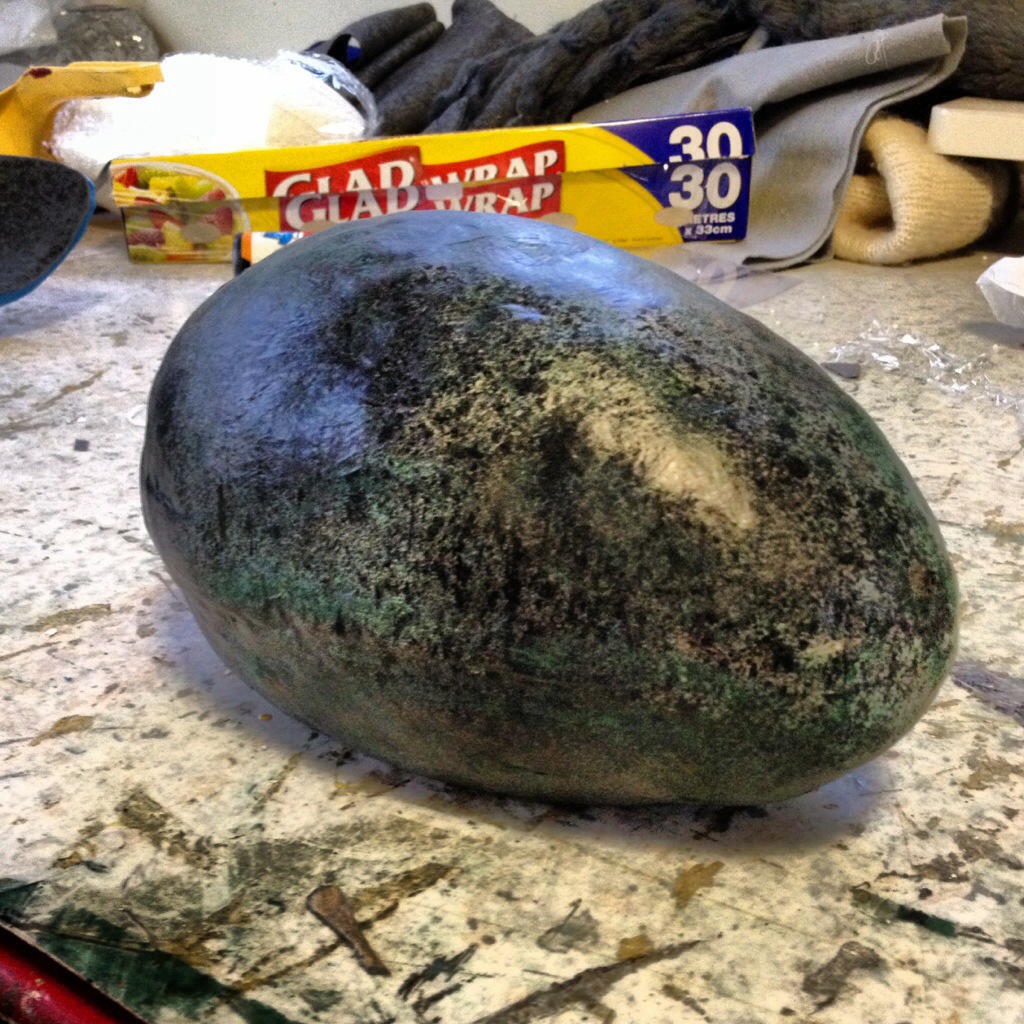
This is the finished emu egg prop made for Biami. The story recounts how Biami ‘created the emu Dinnawhan, the female emu, whose spirit he used to create the Wiradjuri people; who now believe they are of the egg of Biami and the female spirit’. This is symbolised by the shadow of a baby in the coolamon within.
The egg is made from Plastimake, small pellets of plastic which soften when heated and can then by modeled. I this kind of plastic at Philip Millar’s puppet doctor session at the puppetry conference in Melbourne last year, and have been itching to have a good reason to use it! Peter, who I contacted at Plastimake, was very helpful, and it turned out to be a great material for this project.
I found it quite tricky to think through the various steps in how to make this, as it had to light up from inside but be self-contained, and you have to be able to access the batteries so they can be changed.
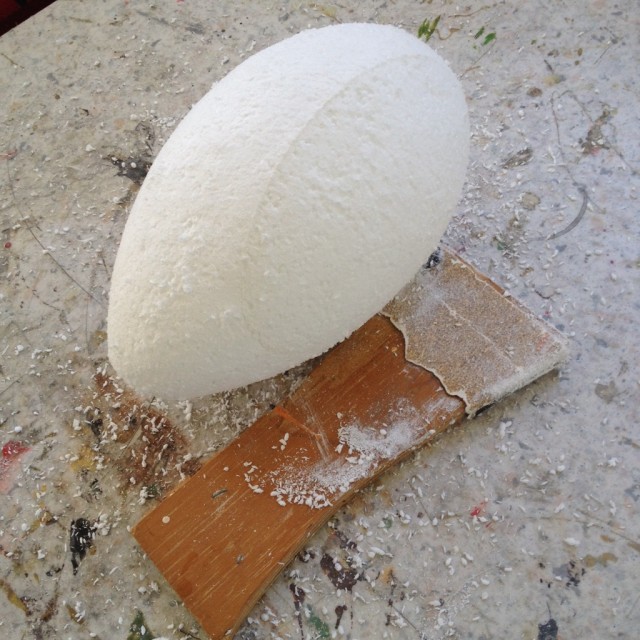
I started by making a polystyrene egg about 20 cm long as a former. Here it is with Special Tool A, a bit of plywood with some blunt sandpaper gaffered onto it, which happens to be ideal for smoothing polystyrene once you have carved to roughly the right shape. Then I cut the egg in half lengthwise and put a bit of polypropylene in between so that I could later split the egg in half easily, and also cut away a small section at each end so that the ends would end up thick enough to hold screws to keep the two halves together.
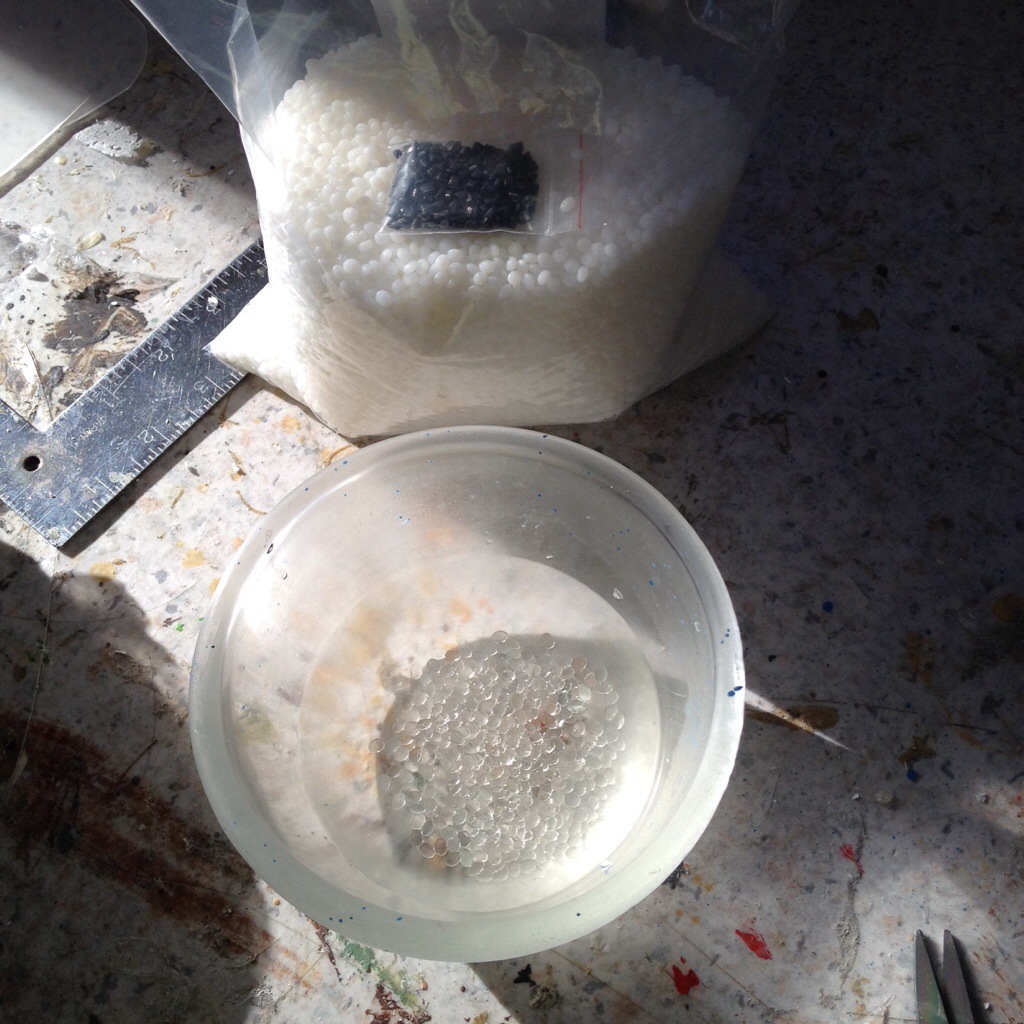
I used small quantities of Plastimake, heated in boiling water. The pellets turn transparent when they are hot enough to fuse, and then you can fish them out with a spoon and mold them to shape. I found that squishing them together a bit with the spoon while they were still in the water was a good idea too. (The little bag of black pellets are colouring pellets of Plastimake which I didn’t end up needing).
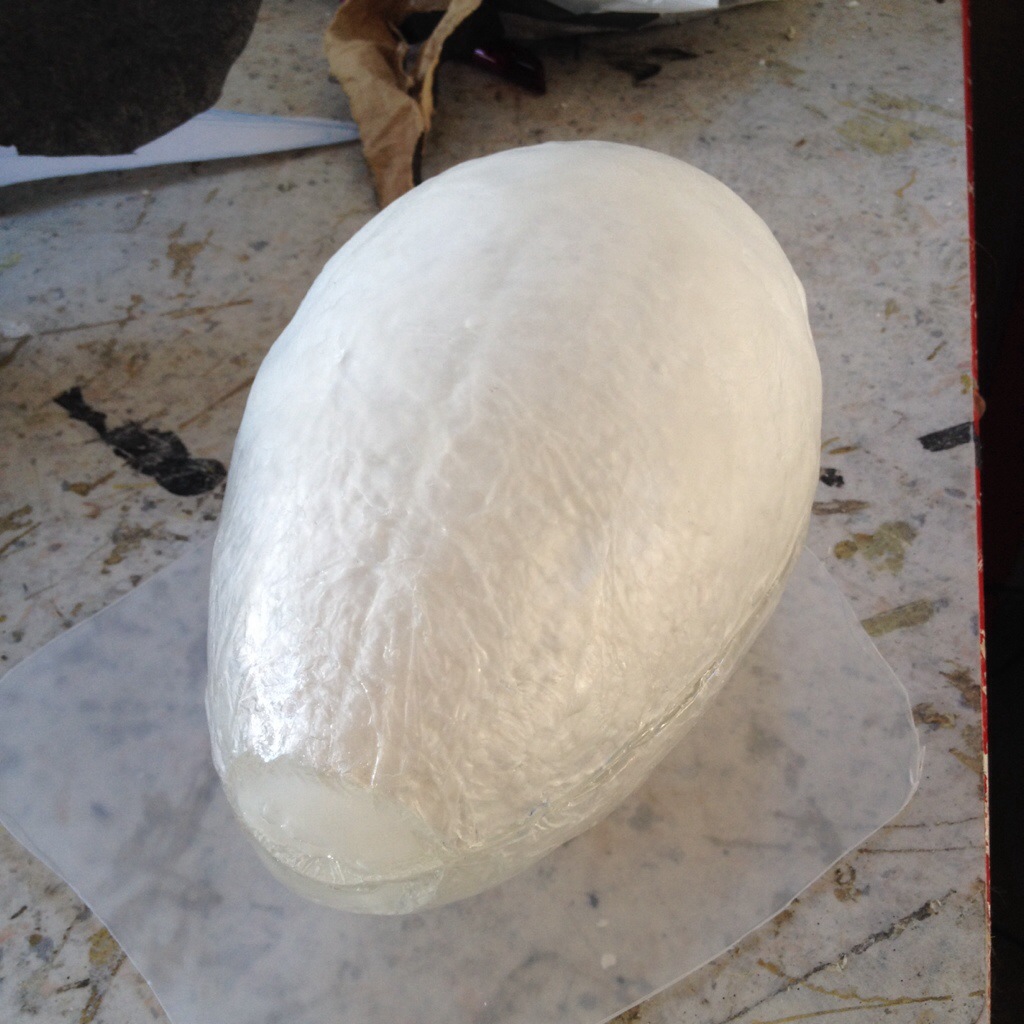
This photo shows the egg completely covered with plastic, in various stages of setting. The opaque areas of white at the large end are set, but in other places where it is still warm you can see right through to the gladwrapped polystyrene inside. Once the egg was covered roughly, I spent quite a bit of time heating it with a hairdryer and then smoothing it out. One of the great things about Plastimake is that it can be reheated and reused, as well as added to, drilled and cut.
The egg has a flattened part for it to rest on so it doesn’t roll around, and into that I set some polypropylene sheeting with the black contact cut-out of the the baby in a coolamon. In the other half is an led light unit from the dollar shop, with it’s switch button rewired to fit into the right position poking through to the outside of the egg. I also replaced the batteries that came with the light with button batteries instead as it seemed neater, hacking a tealight battery holder so that it held two batteries rather than one. (Thanks Zaiga!)
Once the egg itself was made and joined up I paper mached the outside with white tissue paper because although paint takes well to Plastimake it can rub off fairly easily with wear. The speckled finish is spray paint and a little green acrylic paint.
