craft

Ronnie Burkett’s Paper Mache Recipes and other things

Having seen Ronnie Burkett‘s amazing Tinka’s New Dress in its last season at the Melbourne Festival in 2002, and heard him speak so inspiringly at the Puppetry Summit there at the same time, I was interested to see Burkett’s article on paper mache (via Puppetry News and Views).

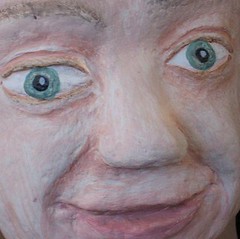
The article talks about recipes for making one’s own paper mache pulp, and the various situations they are useful for, but Burkett also says that much of the time he now uses a commercial papier mache pulp called Celluclay. I thought it would be ideal for a court jester’s marrotte that I was making, but its hard to come by here, so I tried Mix-It, which is made in Victoria. When I tried an instant paper pulp before many years ago, it was quite lumpy, but this mix turned out to be nice and smooth to work, and dried really hard and white.
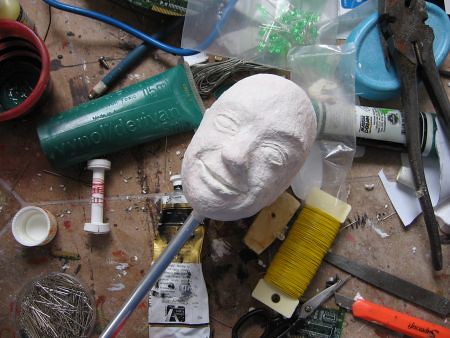
Marrotte
The head was sculpted over a wood and polystyrene base, so that the layer of paper mache is relatively thin, which has the advantage of taking less time to dry, and being economical. It’s also non-toxic and takes paint and finishes of all kinds.I did like reading that Burkett also suffers from impatience waiting for casts to be ready and things to dry.
Marrotte

Dave Riley’s Mask Studio tutorials

Dave Riley is a mask-maker, puppeteer and playwright based in Brisbane. His Mask Studio tutorials have been of great help to me a number of times – thanks Dave! There are two mask tutorials:

The felt method is really interesting. It involves soaking the felt in white glue and then moulding it to shape rather like working leather. There are then different finishes to experiment with, including paint, and leather gloss and polish. The result is a very light strong mask.

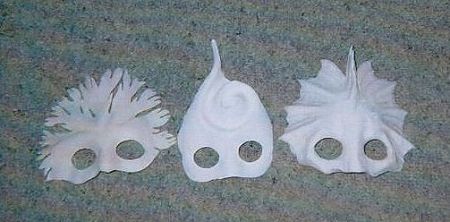
A few years ago when I first tried it and made a series of animal masks, I built on a paper mache base because I wasn’t sure it would be strong enough otherwise, but recently in making some smaller masks for Hidden Corners’ ‘See Beneath’, I was more confident in using the felt by itself, with a muslin/white glue backing to make the inside comfortable and strong.

Masks before painting


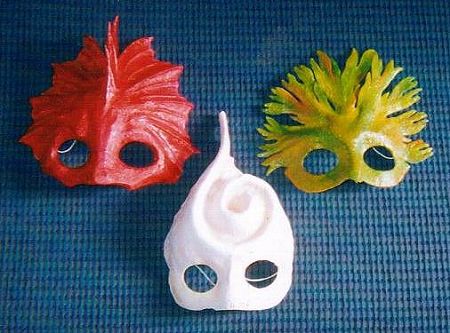
The seaweed fronds had a little extra strengthening, just because the shape was not intrinsically strong like the shell. The fishy mask was done a little differently, without felt because I wanted finer detail. It is carved quite thinly out of styrofoam, and has several layers of muslin and white glue to give it strength.

Masks


These have a water-based polymer gloss varnish added to the paint, which kind of plasticizes them.

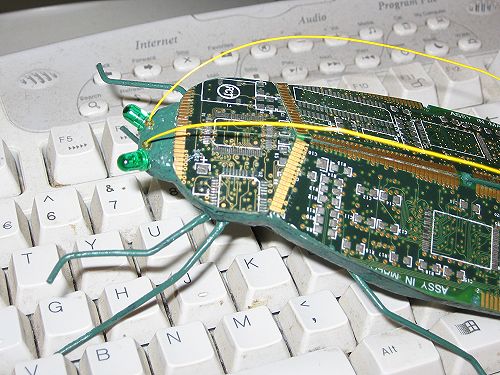
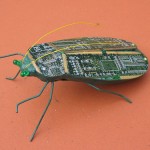
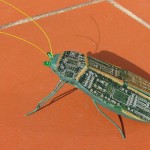
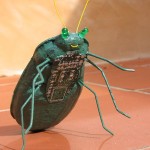
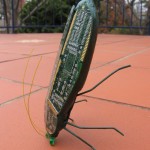
Month of Softies: June bug

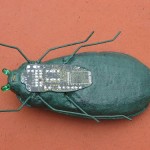
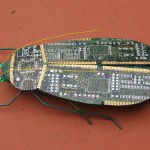
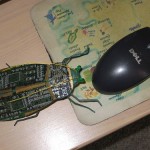
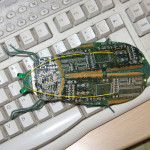
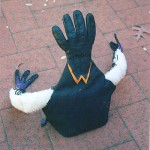
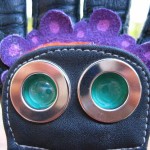
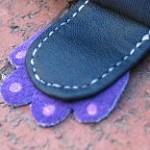
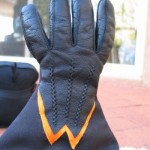
You know you are either going loopy, or your new creation has charm, or possibly both, when you find yourself taking it from room to room with you around the house, or with you in the car while driving errands. Especially when its a computer bug. And we won’t mention talking to it.

There are a few other images below. This bug was made for loobylu’s June Month of Softies. My thanks once again, Claire.

Two new recycled creatures

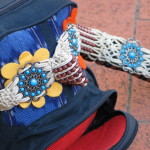
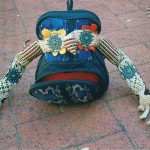
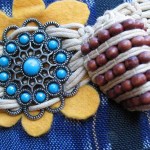
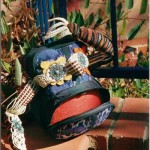
After making a couple of recycled creatures a few months ago, I’ve become a bit obsessed with the idea, and have been haunting the local op shops and trash and treasure markets, looking for suitably interesting bags and belts. I’ve now got far more than I have had time to make up! One side effect of this obsession is eyeing-off bags that people are carrying in shops and on the street.

Month of Softies: May Flowers

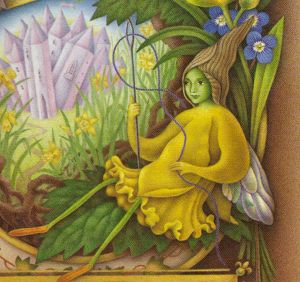
The theme for Month of Softies this month was ‘May Flowers’. My first thought was of daffodils, as I remember loving how they came up all over the place in lawns in the chilly spring in York and Cambridge; and I thought I might try to make Talitha, the brave daffodil princess from the book ‘The Mouldy’ by William Mayne, and illustrated by Nicola Bayley:

talitha

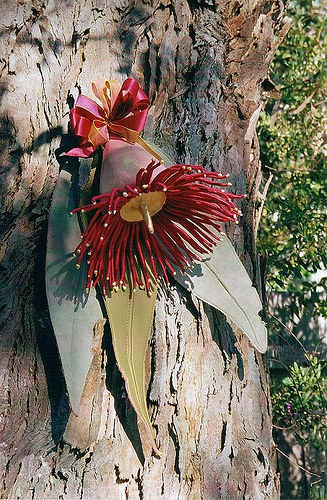
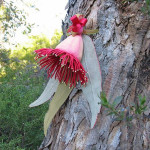
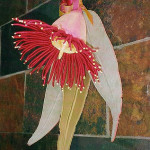
Then I decided to consider Australian May flowers. There isn’t much flowering here in May, except some irises which usually flower in July, but this year are muddled by our late winter and drought. But there are a few winter-flowering eucalypt trees, so I started planning a red gumnut flower fairy. I thought the stamens could make a kind of drop skirt, or hat fringe, but in the end decided that I liked the flower just as a flower.

Red flowering gum-2

Its quite big; including the leaves it measures just over 40cm (16in). For the stamens I used lycra, an idea that I had previously found worked well for making small octopus tentacles! I like the soft colours, too. There are few more pictures:


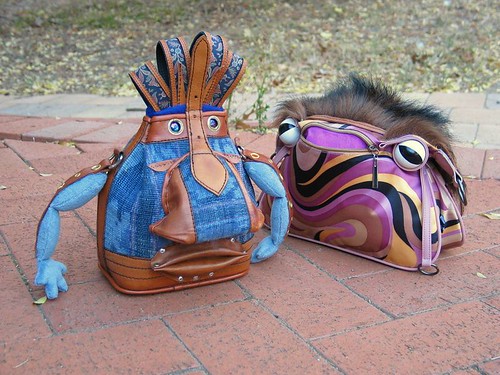
Recycled Monsters: Meet Patrick and Esmé

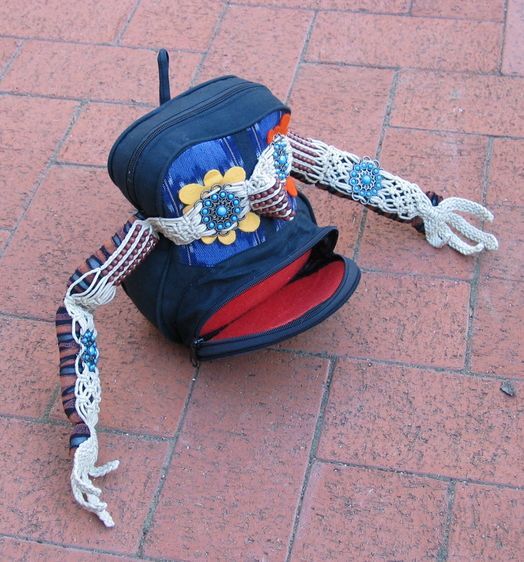
I had a lot of fun with April’s Month of Softies theme, recycled monsters; thanks, Claire. Firstly, please meet Patrick, who is channelling Patrick White:

Patrick

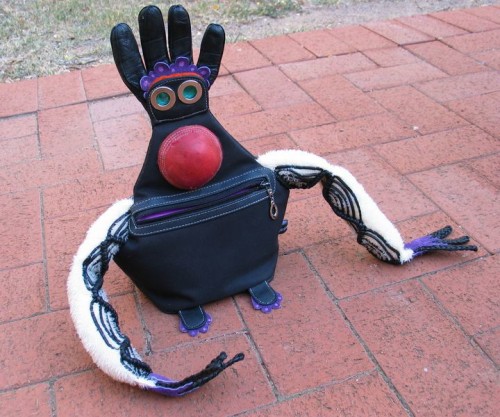
And now Esmé (‘don’t mess with me… I play bowls’):

Esme

They were made from an old bag and belt apiece, and Esmé has half an old cricket ball for a nose. There are more detailed pictures below. And thanks to Belinda for helping me see some extra dimensions to their characters!

Month of Softies: Recycled Monsters

These cool recycled monsters were made by my friend, Belinda, for April’s Month of Softies. I’ll let her introduce them to you:

gronka

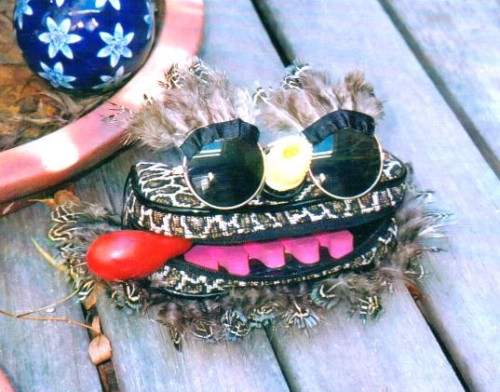
Gronk: “I couldn’t think how to make him until I saw Hilary’s bag-monsters. Then I
found these things in various junk drawers around the house. His nose is
made from a rubber finger-stall pinned to a cork; his teeth are
toe-separators. His facial hair is chicken feathers sewn into a band – I
found this ‘braid’ in a local haberdashery and bought some so I’d have
feathers to add to my cat patchworks. I think he looks rather like Alan
Ginsberg, although as yet he hasn’t written any beat poetry. I posed him
with a cigar (my last home-grown tomato of the season) because I like his
raffish air.”

gronketc

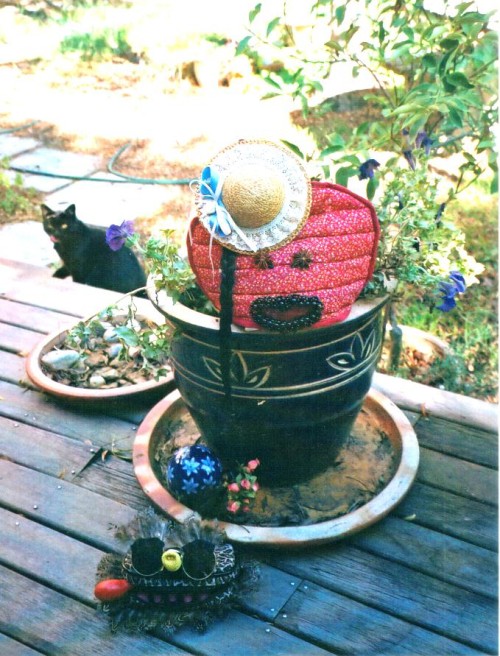
Doris: “This is my first recycled monster. She started life as a tea-cosy. My
daughter’s drawer of “special things” was invaluable in providing the hat
(which used to contain lavender), the bangle for her mouth, the plait and
the flowers. I used polished stones and two star anise for her eyes. Doris
is demure, fragrant and very ladylike. She represents my long-lost
daintiness.”

Japanese Design Motifs

ButterflyMeggiecat is a constant source of interesting art-craft-image-related notes. Her link to Japanese Free Clip Art the other day provided this lovely swallowtail butterfly image, for instance.

The designs reminded me of a book called ‘Snow, Wave, Pine:Traditional patterns in Japanese Design’ by Motoji Niwa and Sadao Hibi, which I sometimes page through in the bookshop. Its a beautiful collection of photographs of classic decorative patterns on a wide variety of objects (for example robes, laquerware, swords and ceramics), and many drawings of family crests and stylized motifs.

Instant grab spray adhesive for polystyrene

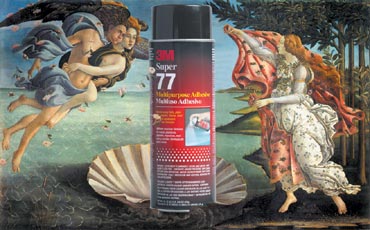
I’ve found a spray adhesive that sticks polystyrene with an instant grab – this is worth shouting about! Its in the 3M range, and is called Multi-Purpose Spray Adhesive. I’m amused by this graphic on the US site:

Botticelli because there is a humourous appreciation there of the beauty and godsend of finding the right glue for the job, but also because it reminds me of my Darcy Venus from Pemberley days.

Just about all glues eat polystyrene. White PVA glue and epoxy resins like Araldite are the exceptions, but they take time to dry, and the work has to be clamped meanwhile. One or two of the liquid-nails-type adhesives can be used, depending on the job, but they melt polystyrene to a certain extent, and are lumpy.

The can of Multi-Purpose Spray Adhesive that I bought here in Canberra doesn’t have the ‘Super 77’ tag on it, and is half-green-half-black rather than red. I’m assuming that its just different packaging, and the content is the same, but it might be worth checking. It’s a 467g can, boasts 6 times more coverage than any other competitor, and is expensive: AU$29.95. But its worth it.